In the existence of your atomizer, always comes the inevitable moment when you wonder how to change the resistance of your electronic cigarette. Reception of a new box, a new atomizer, a brand new e-liquid or even the appearance of a burnt taste… don’t worry, I will teach you how to start a resistance safely and simply.
Whether it is to replace a Vaporesso, Eleaf, Smok, Innokin, Aspire, Joyetech, Vaptio or JustFog resistor, this method will allow you to avoid the famous blow of the brand new resistor which burns from the start.
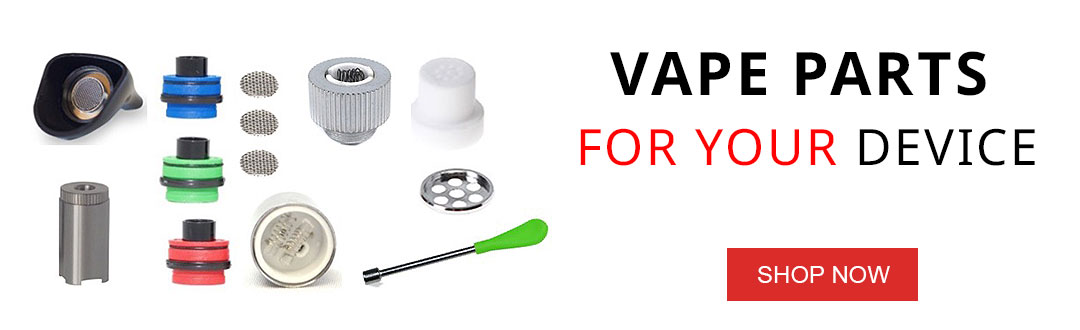
This tutorial for replacing a vape coil is universal and works for all brands on the vape market, you will know when and how to change the coil of a Zenith, a Melo 4 or a Vaporesso Swag.
Remember to share this tutorial on replacing an electronic cigarette coil, thanks to you thousands of vapers will be saved.
When to change an electronic cigarette coil?
A little reminder for beginner vapers! An electronic cigarette resistor is a small round metal piece, inside there is resistive wire and cotton/ceramic, which is located in the clearomizer of your vaper. Thanks to the accumulator, and once in contact with e-liquid, the vaporization of your liquid will take place.
But this small component that is the resistance has a limited lifespan, and you will have to think about changing it in your electronic cigarette in several cases:
After two to three weeks of use, your resistance becomes less effective, burnt taste… toast… translucent vape. It’s time to change it! Too powerful a wattage, and it’s over: slight lingering burnt taste, worse! the dry hit, the obsession of all vapers! the resistor must be changed.
Change of e-liquid, new flavours, we suggest you change your coil to get the most out of it.
New atomizer, new resistor but burnt taste…
This last case is particularly unpleasant, but what a joy that you came across this blog! Thanks to reading this tutorial, changing your electronic cigarette resistance will become child’s play!
How to properly prime your electronic cigarette resistance?
If you have a clearomiser and it gives off a burnt taste, we recommend that you run the rest of the clearomiser in your vape under lukewarm water, drying it carefully. This will eliminate any residual burnt flavour that may remain after replacing the e-cigarette coil.
To extend the life of an electronic cigarette coil, start by priming it, whether it’s an Aspire coil, an Eleaf coil or a Kangertech coil.
Change the resistance of your e-cigarette, and prime it well, step 1!
You will first have to access the resistance and depending on the model of your clearomiser, the method may be slightly different. Replacing a Vaporesso resistor will generally involve unscrewing the base (the lower part) of the clearomizer, while for an Ego Aio resistor from Joyetech it will be necessary to unscrew the top cap (the upper part) of the clearomizer.
In the case of a vape atomizer that has already been used, always bring thin paper tissues to extract the worn resistance.
Take advantage of this moment to thoroughly clean the thread and the location of the resistance to prepare for the replacement!
Soak to properly prime the resistance
With the new resistance in your hand and the bottle of your favourite e-liquid in the other, we will first start by pouring liquid on the holes which reveal the cotton (one drop per hole, going around). The e-liquid bottles with fine tips will make your job easier.
Clean the surplus in the resistance, which the cotton can no longer absorb so that there is no ascent through the chimney of your clearomiser.
Note that, for resistors whose airflows are located at the top, it will be necessary to have a very light hand on the liquid. The resistances must not be drowned by the e-liquid. This would require too long a drying time for them to be operational again. Just a few drops, and patience, will suffice!
For vapers vaping High VG e-liquids, such as 30/70 e-liquids, we recommend that you be patient longer. Indeed, this type of vape liquid is thicker than a traditional liquid. It then takes much longer to fully soak the cotton.
If you want to extend the life of your coils, it is best to opt for a vaping liquid that does not exceed 50% VG.
You are only a few seconds away from the end of the tutorial on changing your electronic cigarette coil, and you will finally be able to vape.
Close the airflow (air inlets) and then position, screw or clip your resistance well soaked in liquid in its base. Reasonably fill the atomizer tank, but not too much, to properly prime your resistance.
Pretty bubbles should go up in the tank of your vaporise it is the sign that the priming and the replacement of your resistance are successful, still a little patience, we are almost there!
Make sure that the airflow of your clearomiser is always closed, and without activating your battery (very important, otherwise you will have to replace the resistance again) blow and inhale gently through the drip-tip.
This last step will allow the new resistor to release all the remaining air, and completely and correctly soak all the cotton in the resistor. Carry out this operation, remembering to inhale from time to time, until the appearance of a slight “gurgle” which will mean that the cotton is perfectly soaked.
If you want to be sure, you can wait a little longer, 5 minutes, just to be sure that the initiation of the resistance is complete. We recommend that you start at a wattage lower than the usual range of use of your vape (a few watts less is enough). You can then go back to the wattage recommended by the manufacturer and vape! Don’t forget to re-open your airflow.